
Configure the form › In the workspace
Engineer the extraction
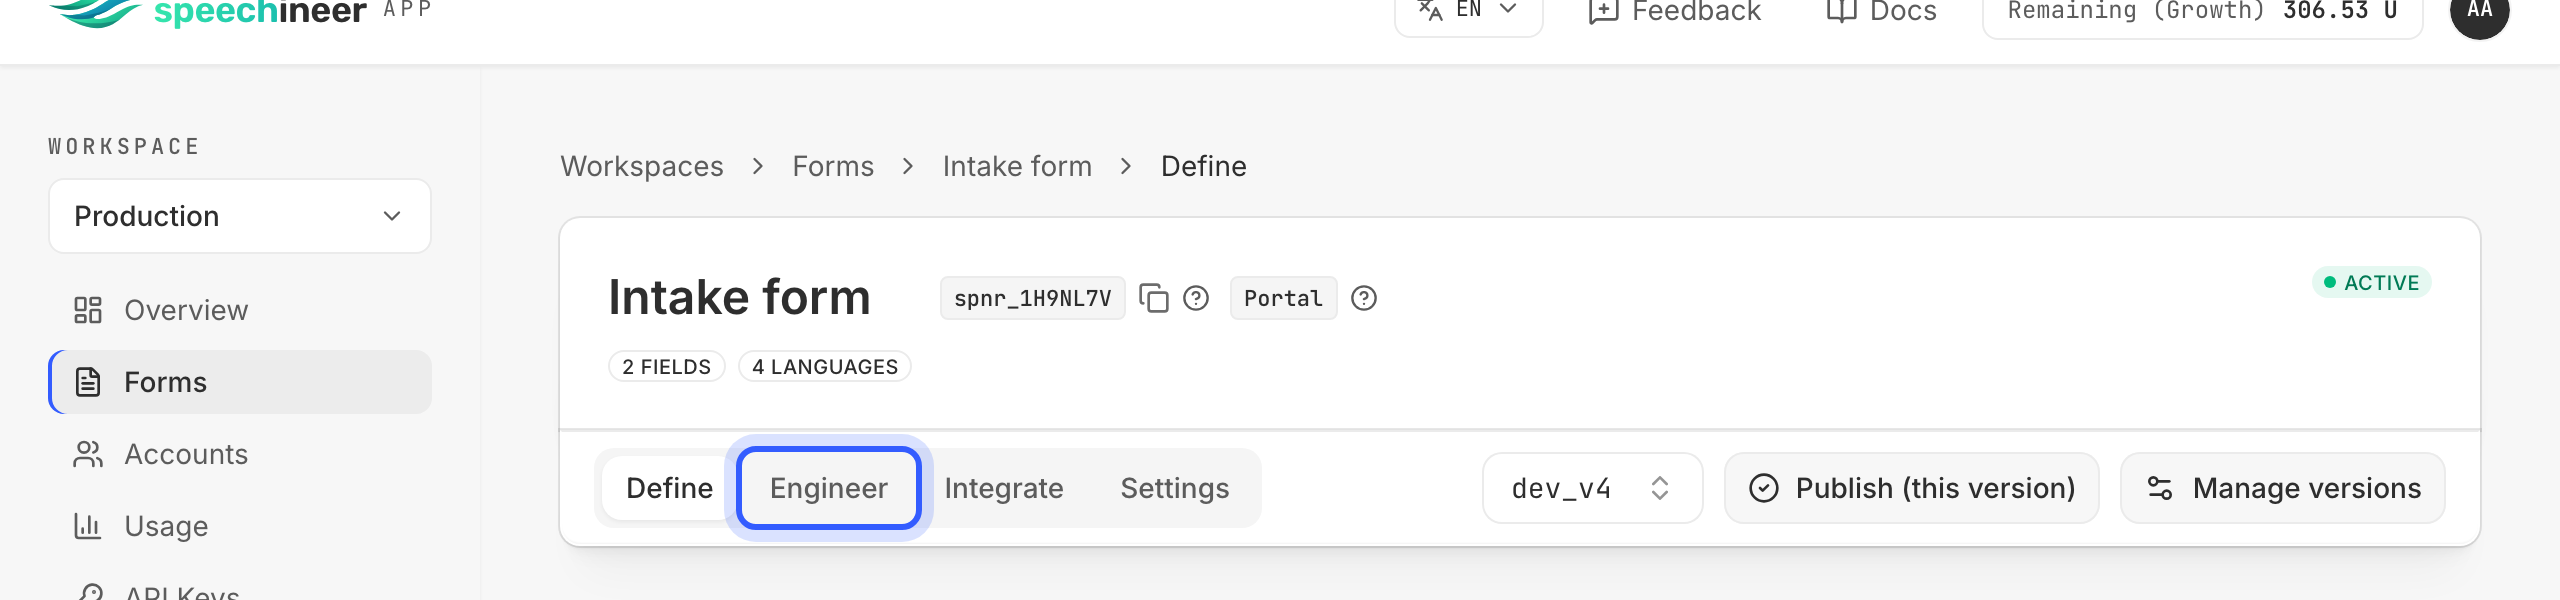
The Engineer tab is where you decide how speech becomes values: you write the prompts and test them against your own voice until every field lands the way your code expects. A change reaches your users when you publish the version — without a release of your app.
Note
Prompt types
A prompt is the instruction that tells the AI what to do with speech. Engineer holds three kinds, all per language, and the examples below are the ones the sample Patient Intake form ships with:
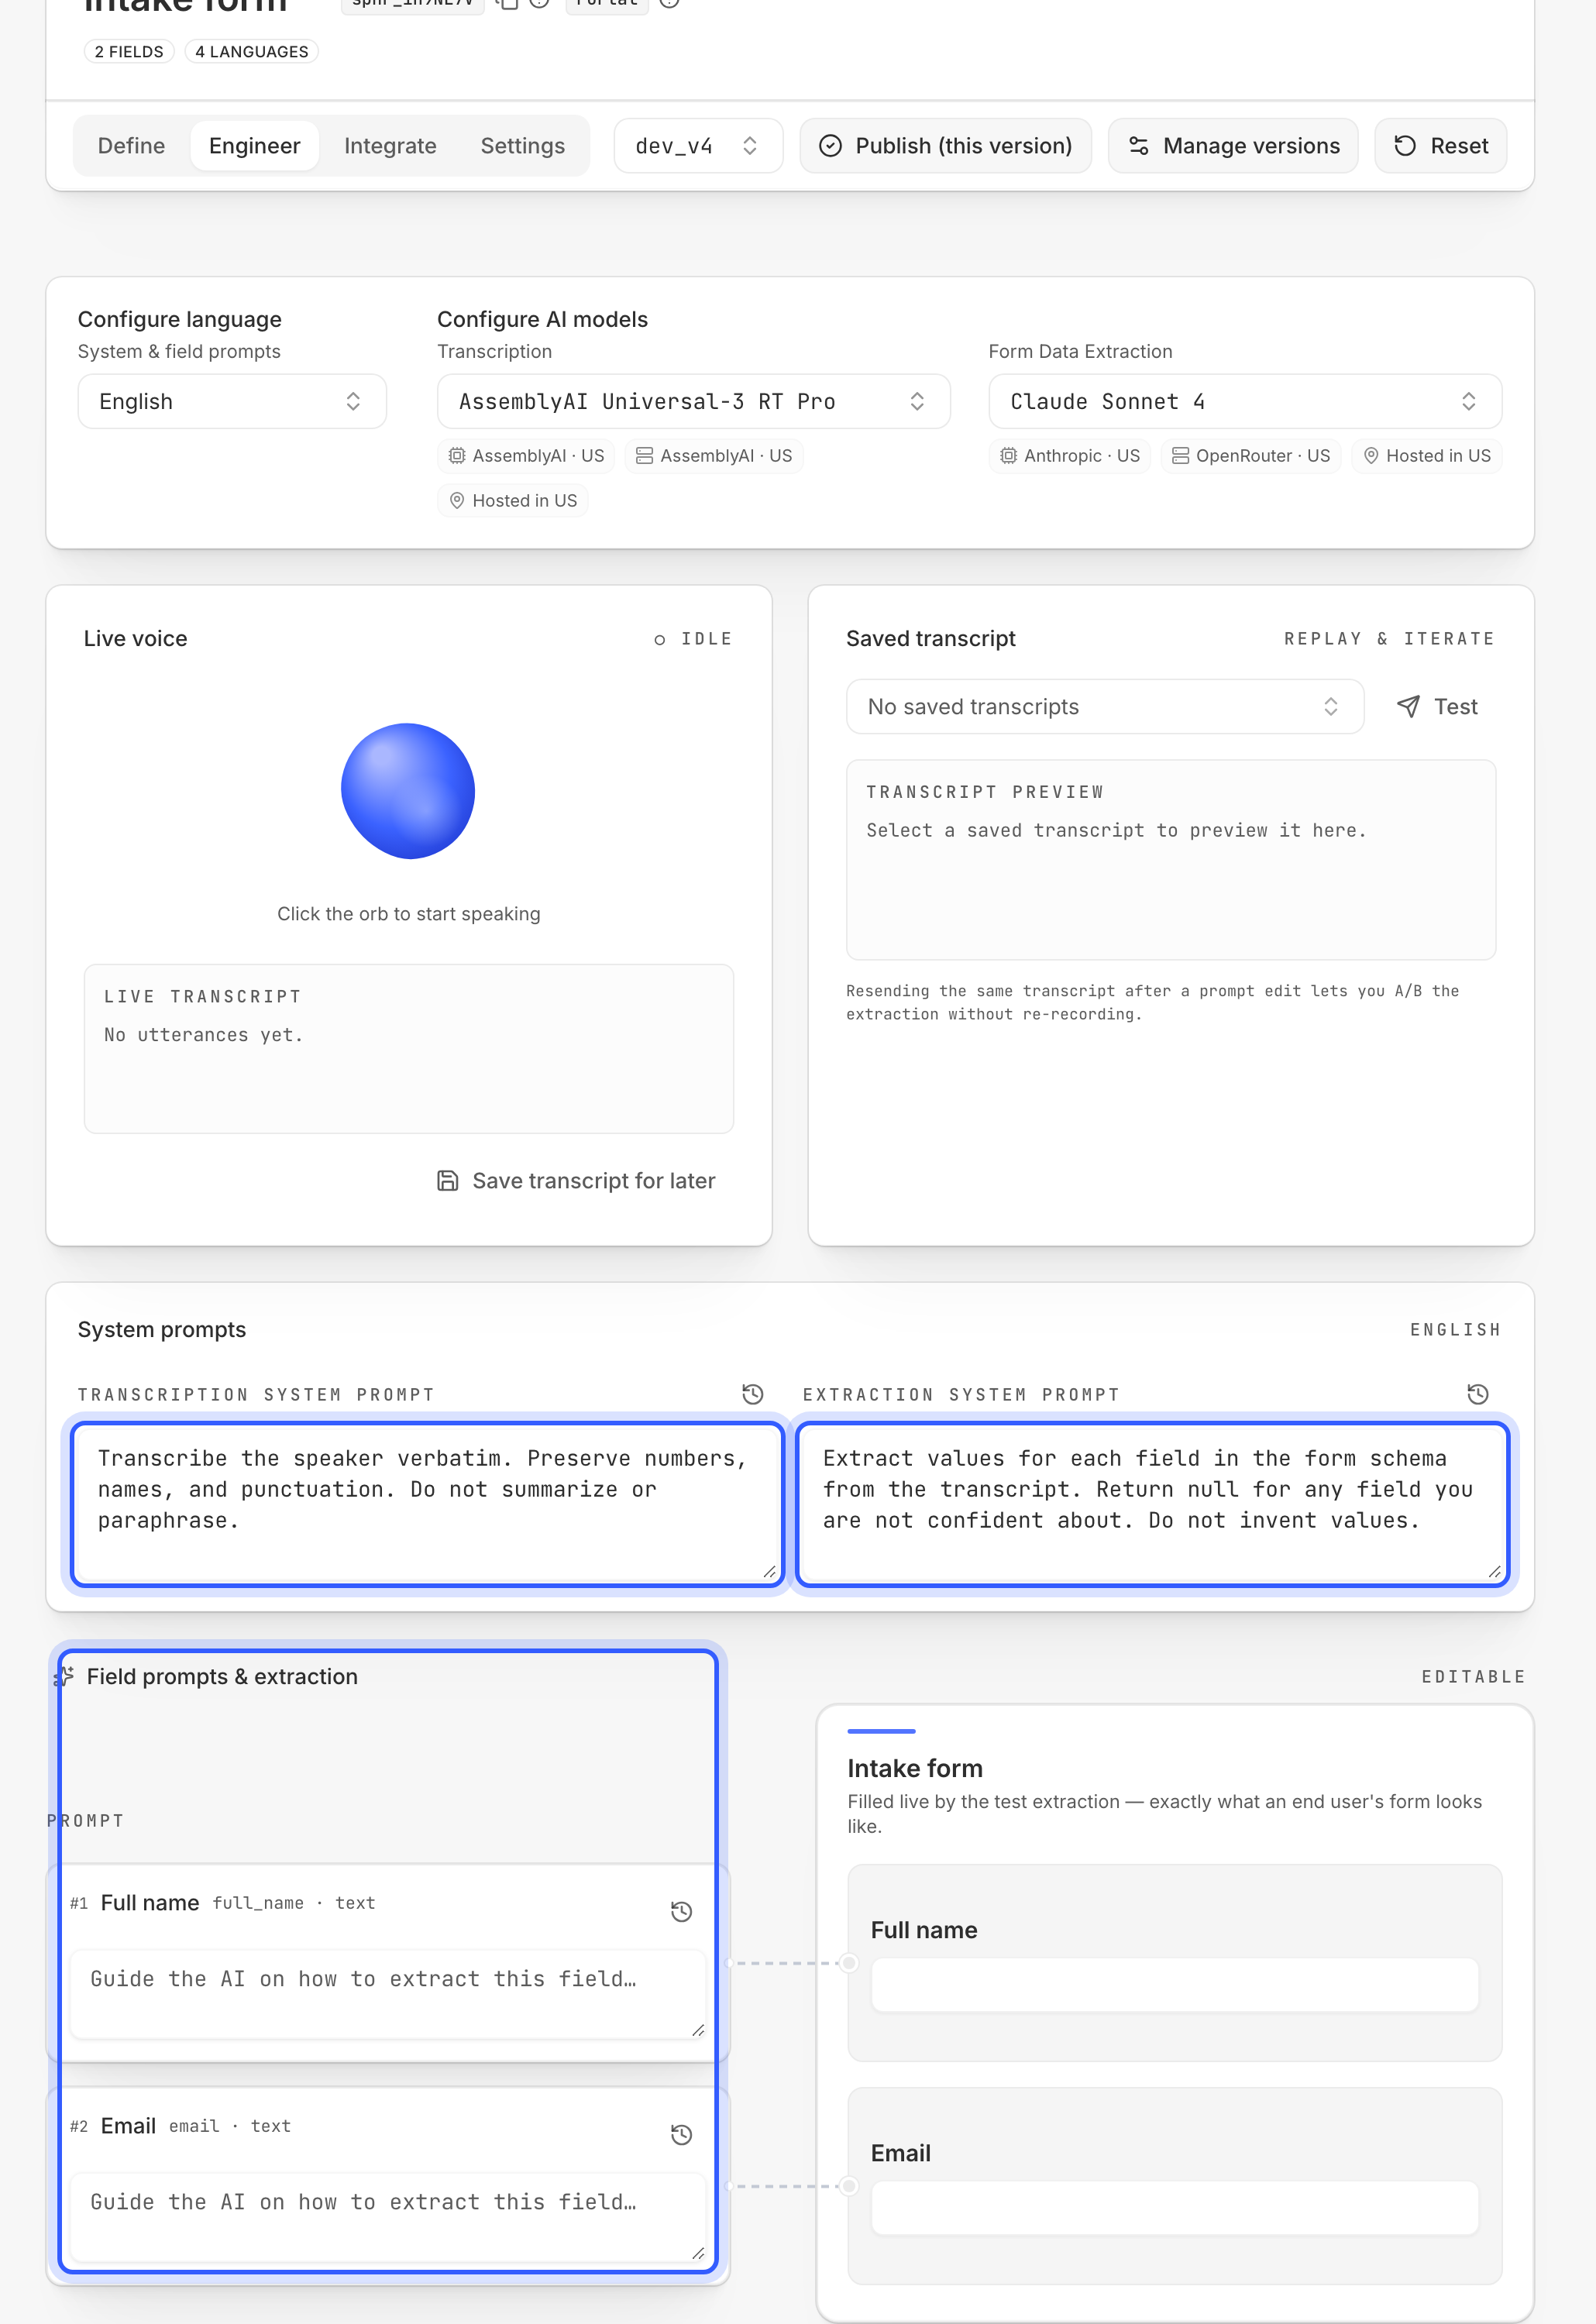
Transcription system prompt
How speech is written down in the first place: vocabulary, domain, names to expect. When the transcript is right, everything downstream gets easier.
- "Transcribe the patient's speech verbatim in English."
Extraction system prompt
Context that applies to every field: what the form is for, how strict to be, what to leave empty.
- "Extract structured intake fields from the transcript. Be concise and accurate."
Field prompts
One prompt per field — what to pull out and how to resolve what a speaker actually says. From the sample form's fields:
full_name— "Ask for the patient's full legal name."date_of_birth— "Capture the date of birth in ISO format."severity— "Rate severity from 1 to 10."consent— "Confirm the patient consents to treatment."
Tip
Note
Select the model
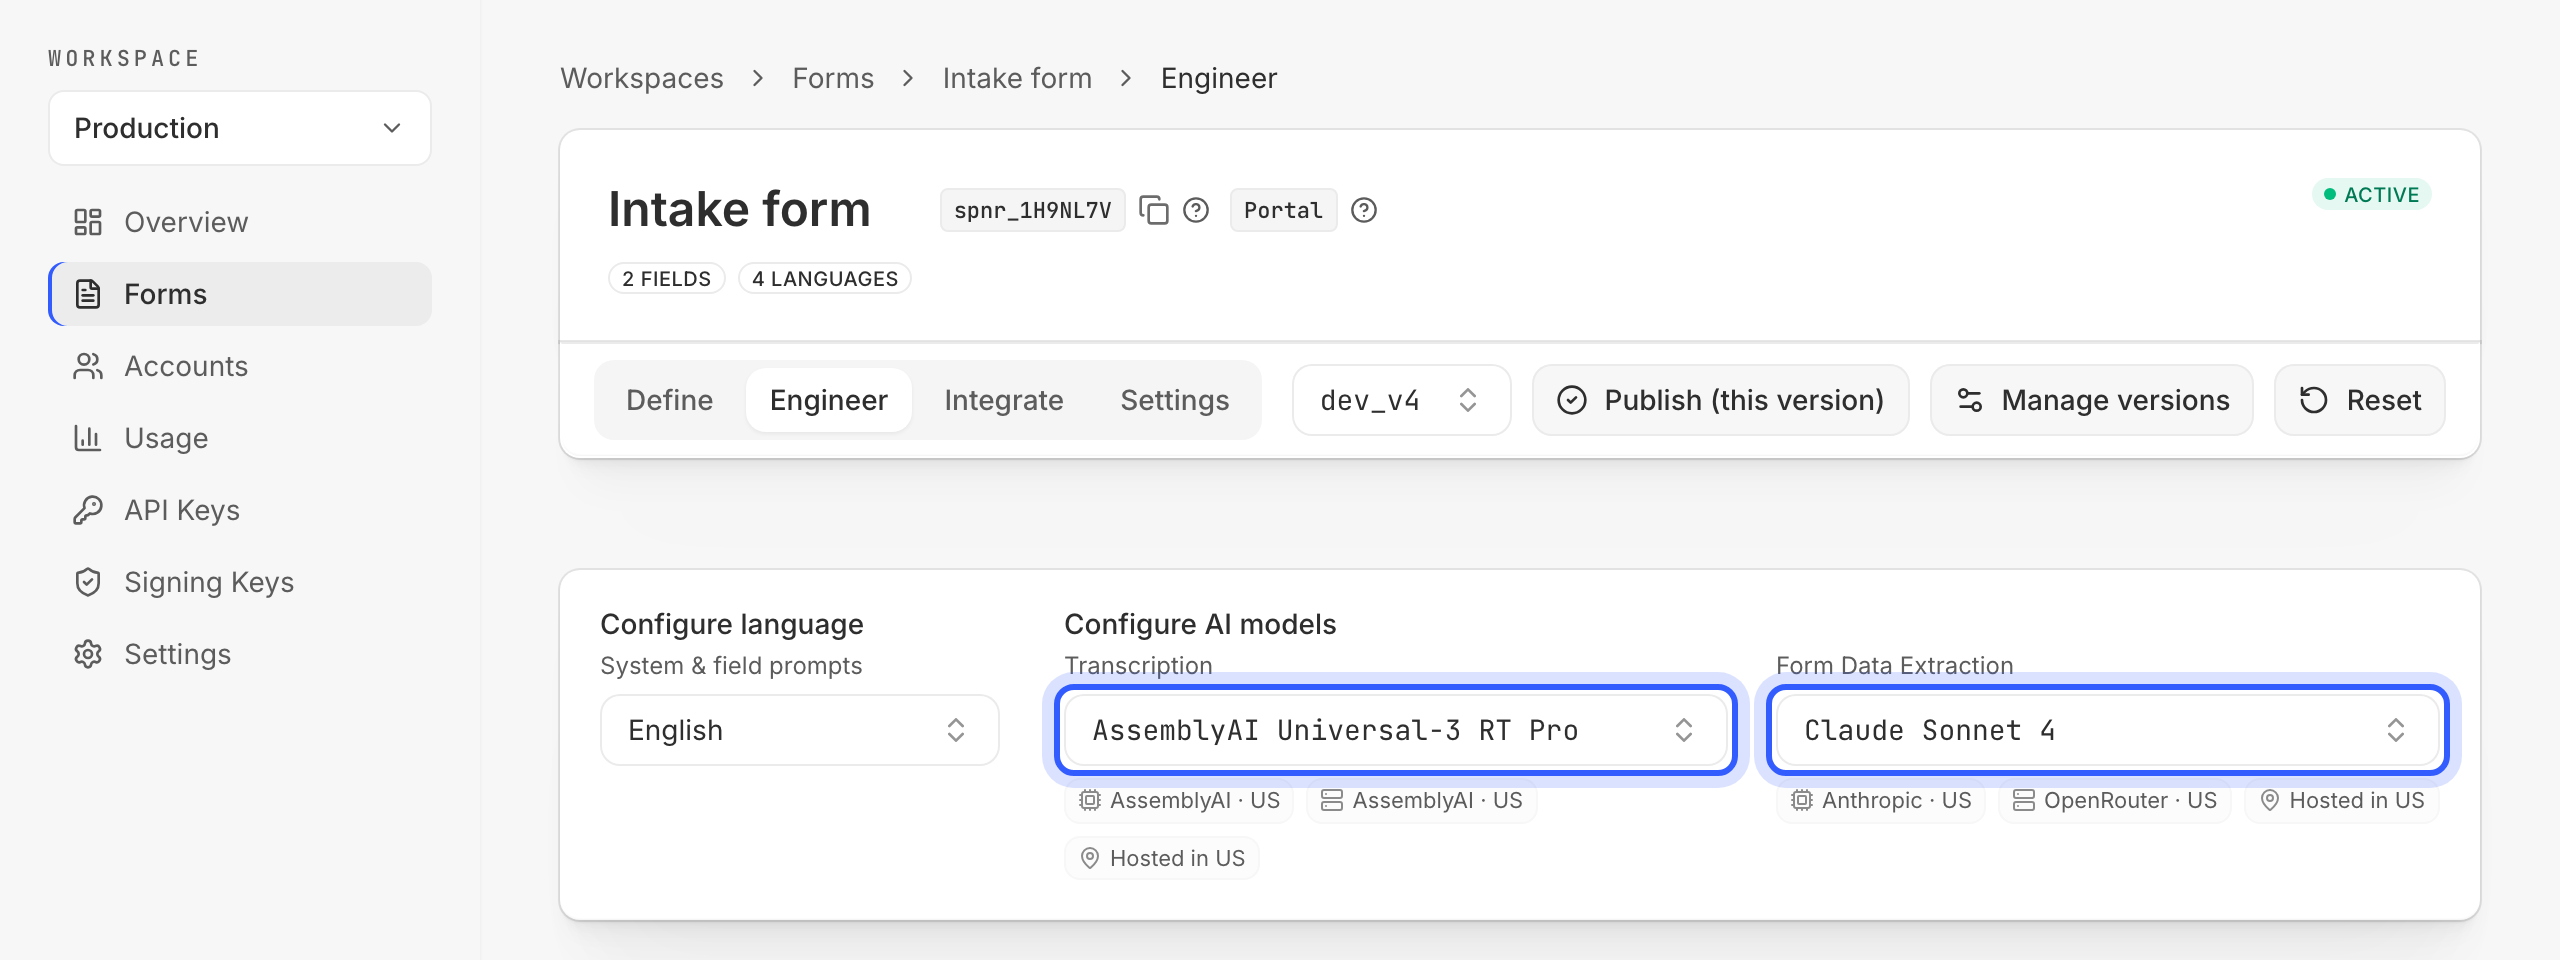
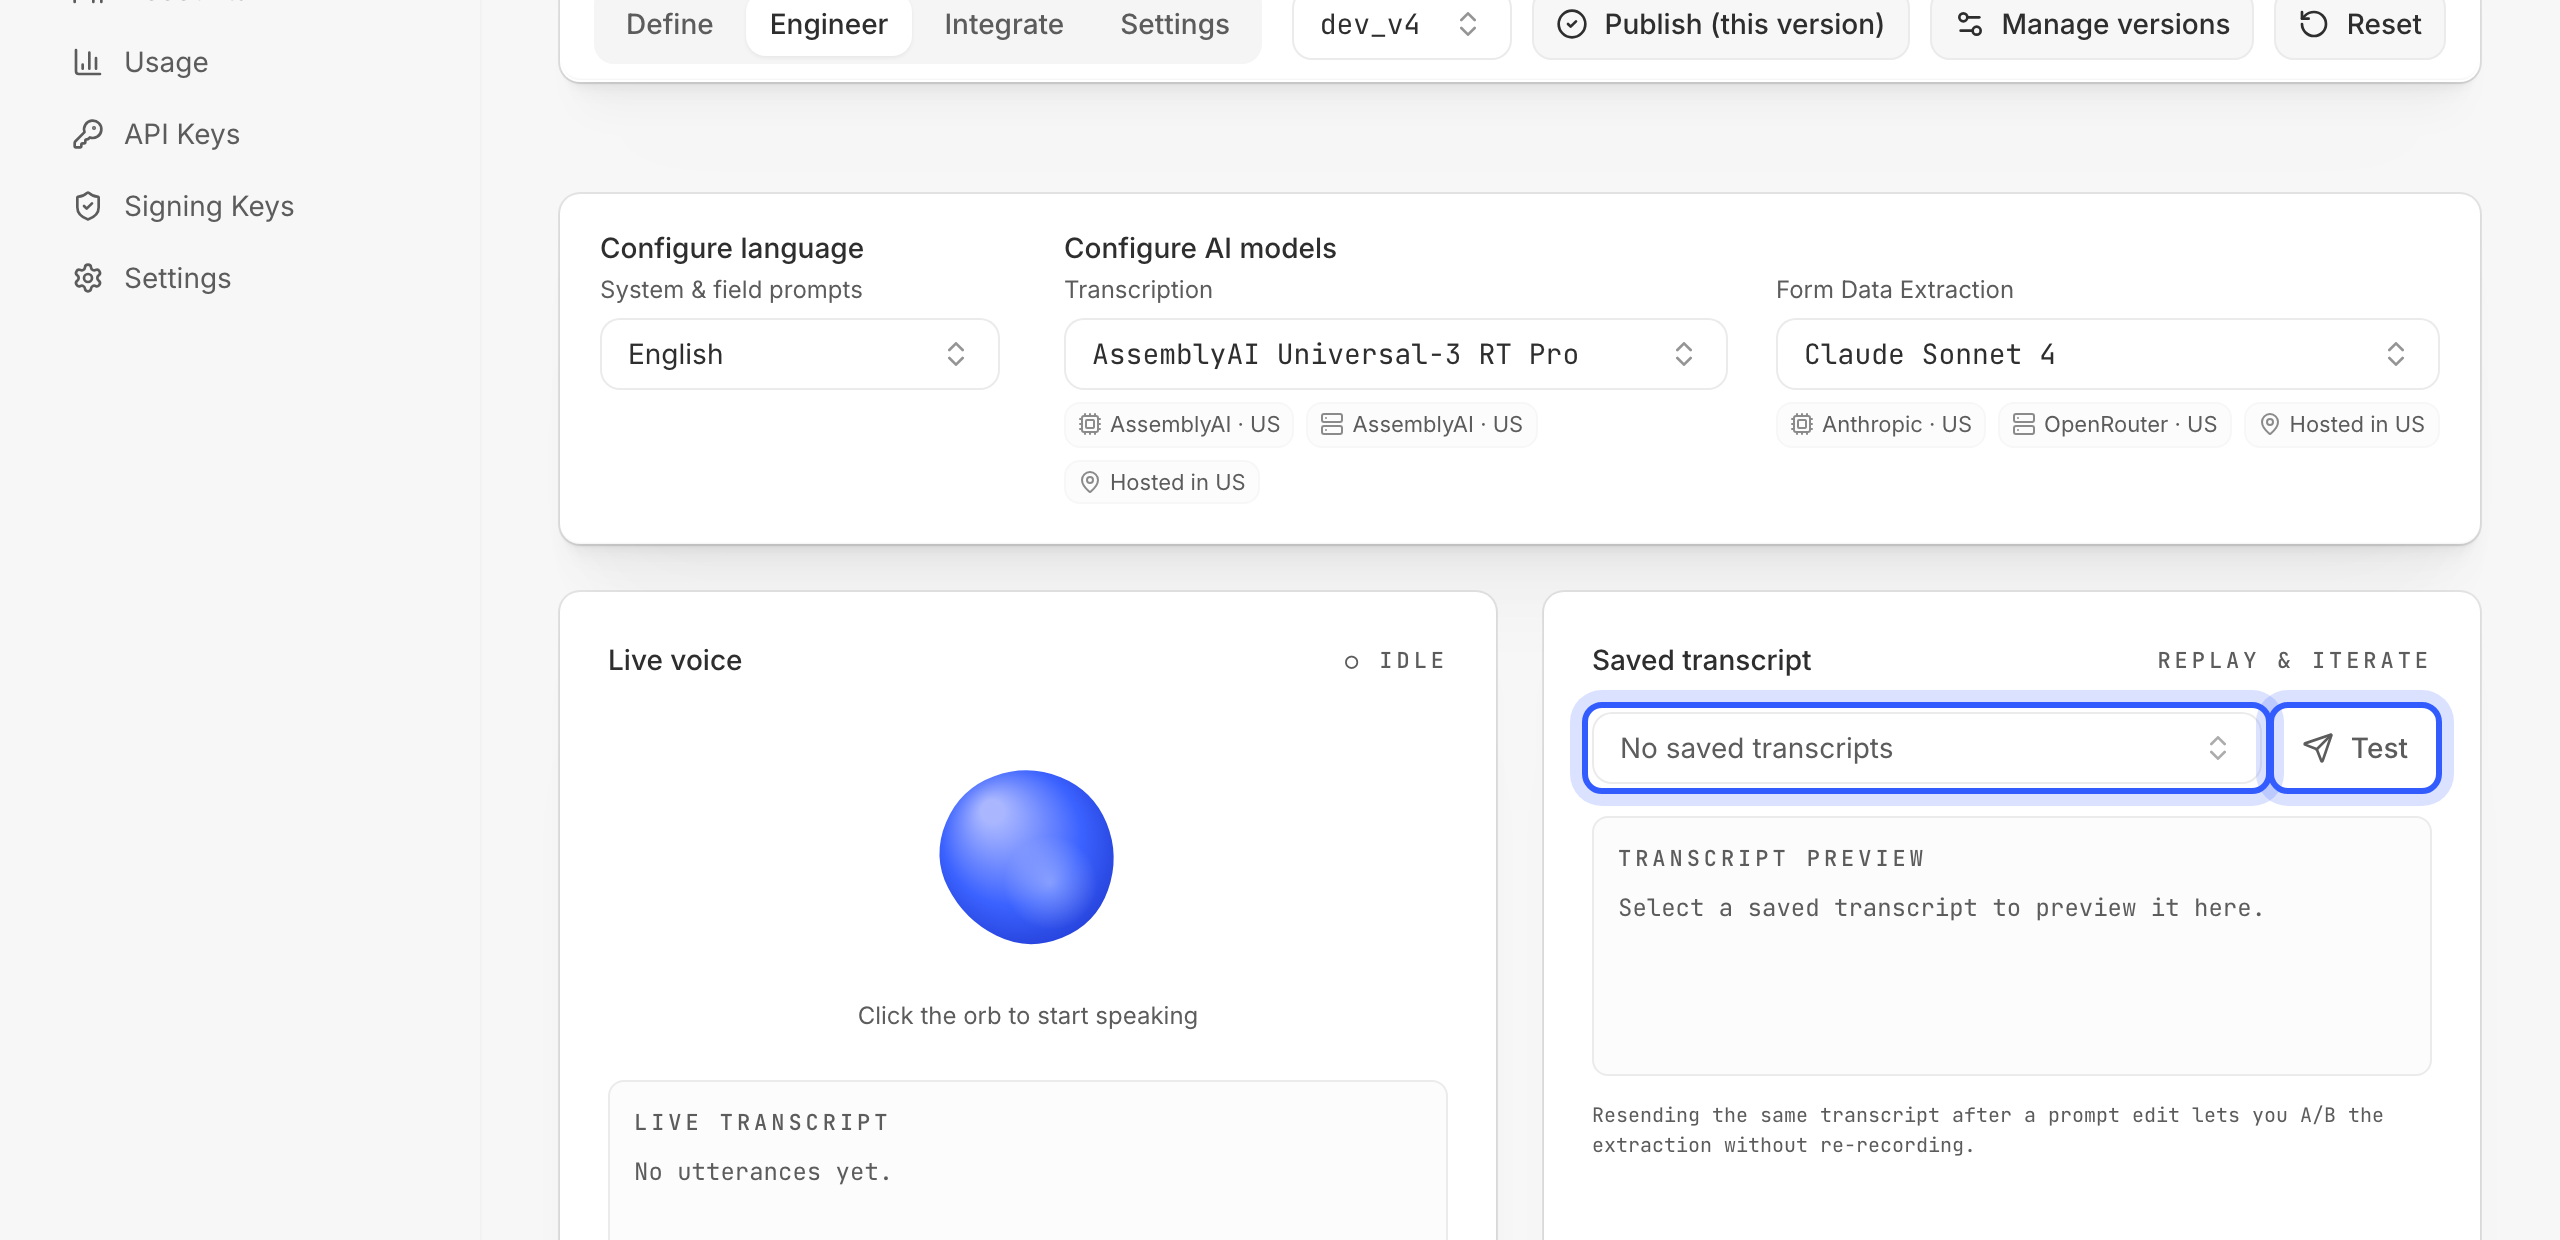
The two model pickers at the top of the tab choose which models this version runs on — one for transcription, one for extraction. The defaults are right for most forms.
Switching is worth it when something specific matters: accuracy on your domain's vocabulary, latency, price, or where the audio and text are processed — each entry shows who develops the model, who serves it, and where it is hosted.
Test before you ship
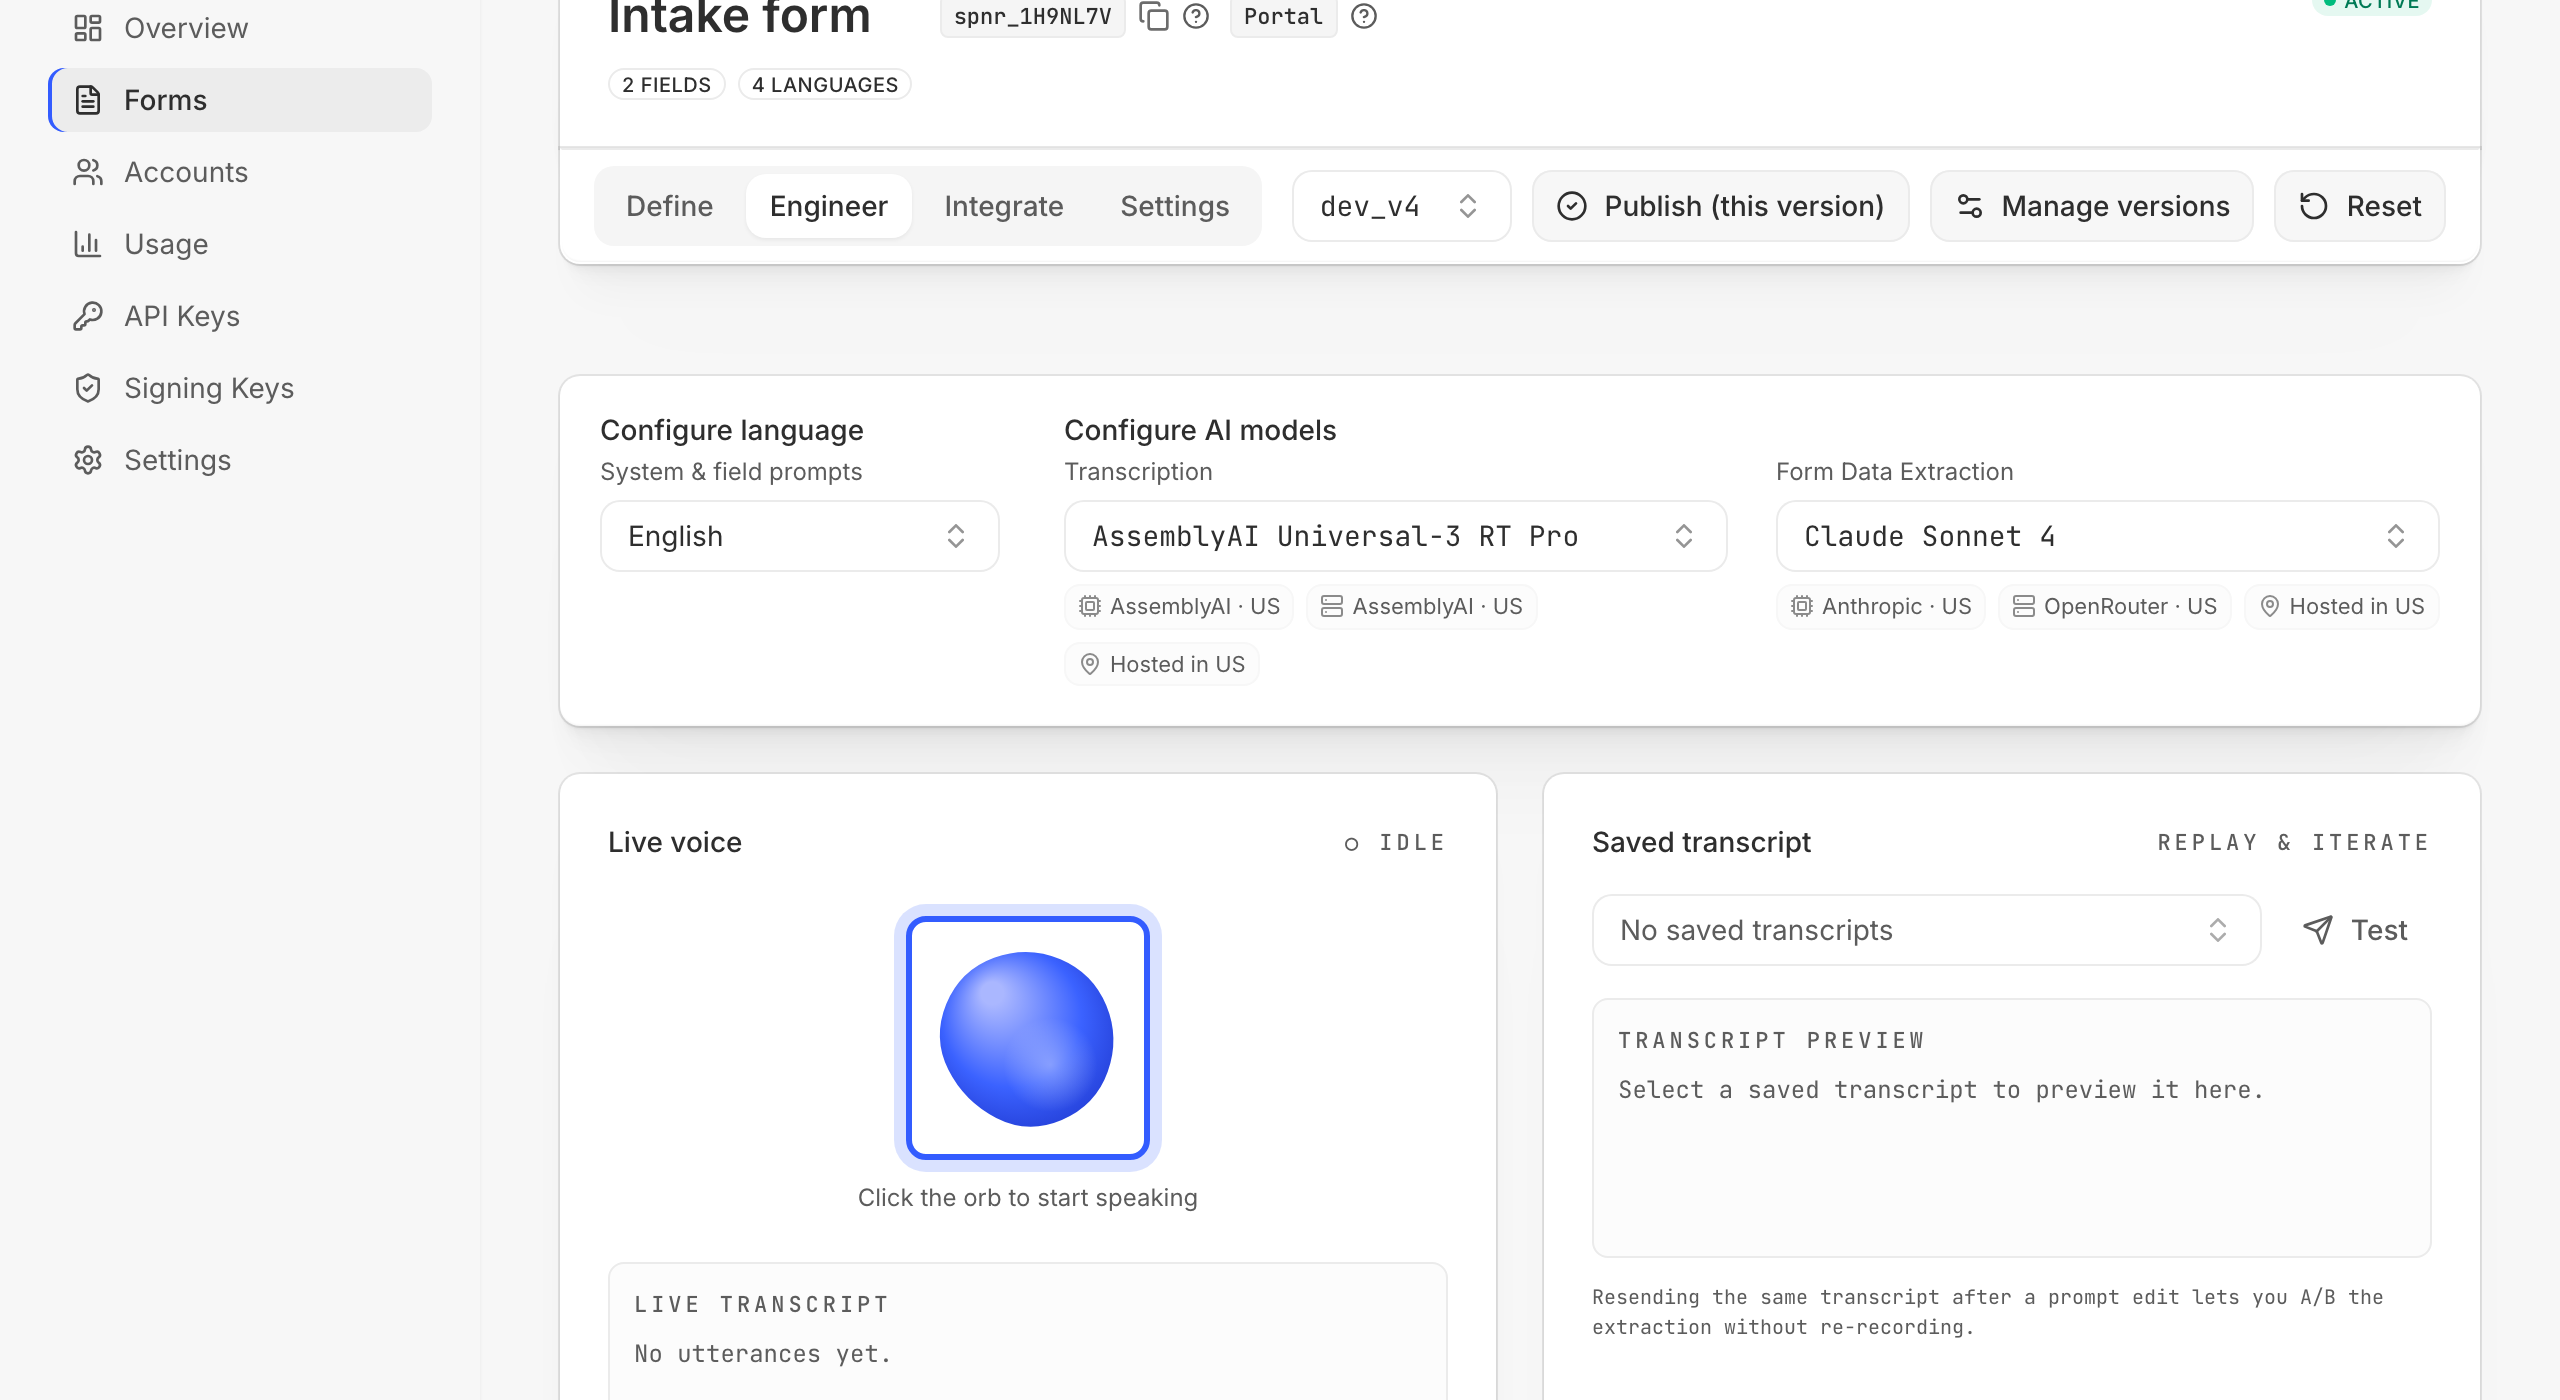
Click the orb under Live voice, speak a realistic answer, and watch the transcript and the form preview fill — no code, no API key involved. Every field you see land here lands the same way in your app.
Tip
Speak a realistic answer and watch every field land — including the awkward ones (relative dates, "none of those").
Tip
Warning
form.version is required and there is no "latest" — a session always names one version explicitly. Publishing a new version does not move your integration; update the pinned key when you want it live (Configure the form › In the workspace › Publish).Then, if you need to, tweak the form's settings as described in Configure the form › In the workspace › Settings — none of them is required — publish the version as described in Configure the form › In the workspace › Publish, and wire it up in your code: Integrate the SDK walks through the setup, and each form's Integrate tab in the workspace renders the snippets with your real keys and ids.